How to Install Durock Cement Board in Shower
The installation of Durock cement board in a shower is a crucial step towards creating a durable and moisture-resistant foundation for your tile work. In this comprehensive guide, we will walk you through the process, providing detailed instructions and tips to ensure a successful installation.
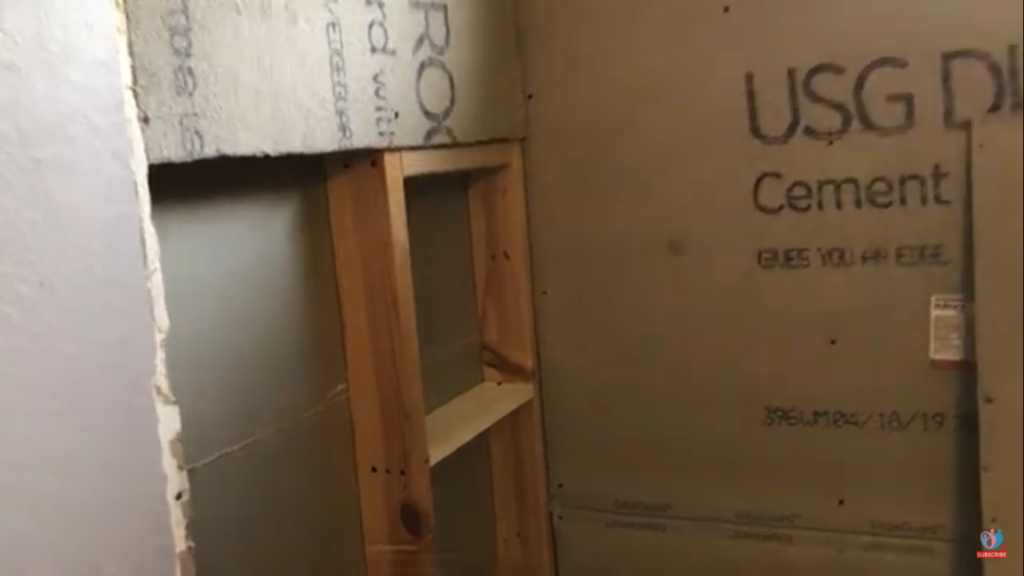
Durock cement board is a popular choice for shower installations due to its durability and resistance to moisture. Unlike traditional drywall, Durock provides a solid and stable surface for tiles, preventing damage caused by water exposure.
Importance of Using Durock Cement Board
Enhances Durability
Durock cement board adds strength to your shower walls, ensuring they can withstand the test of time. Its composition makes it resistant to mold, mildew, and deterioration.
Moisture Resistance
One of the key benefits is its ability to resist moisture, preventing water damage that can compromise the structure of your shower.
Suitable for Wet Areas
Given its moisture-resistant properties, Durock is an ideal choice for areas that are frequently exposed to water, such as showers.
Tools and Materials Needed
Before you begin the installation process, gather the necessary tools and materials. You'll need a circular saw, utility knife, screws, and thin-set mortar, among other items.
Preparing the Shower Area
Clean the Surface
Start by cleaning the shower walls thoroughly to ensure a clean and adhesive-friendly surface.
Measure and Mark
Accurate measurements are crucial. Measure and mark the areas where the Durock boards will be installed.
Cutting the Board
Use a circular saw or utility knife to cut the Durock boards to the required size.

Installing the Bottom Row
Apply Thin-Set Mortar
Spread thin-set mortar on the back of the Durock board using a notched trowel.
Secure the Board
Press the board firmly onto the wall, ensuring it adheres well to the surface.
Attaching Subsequent Rows
Staggering Seams for Strength
To enhance strength, stagger the seams of each row, avoiding direct alignment.
Spacing Guidelines
Maintain proper spacing between the boards to accommodate expansion and contraction.
Dealing with Corners and Edges
Cutting for Corners
For corners, use a saw to make precise cuts, ensuring a snug fit.
Finishing Edges
Smooth and finish the edges with a rasp or sandpaper to create a polished look.
Securing Durock to Studs
Nailing and Screwing Techniques
Secure the Durock boards to the studs using the appropriate nails or screws.
Ensuring a Solid Foundation
Check for any gaps or loose areas and secure them to create a solid foundation.
Waterproofing the Durock Board
Importance of Waterproofing
Apply a waterproofing material to prevent water infiltration and protect the structure.
Choosing the Right Waterproofing Material
Select a high-quality waterproofing material that suits your project's needs.
Sealing Joints and Fastener Holes
Preventing Moisture Penetration
Seal all joints and fastener holes with a waterproof sealant to prevent moisture penetration.
Ensuring a Watertight Installation
Thoroughly inspect the entire installation to ensure it is watertight.
Tiling Over Durock Cement Board
Applying Thin-Set for Tiles
Apply thin-set mortar to the Durock surface before laying the tiles.
Setting the Tiles
Place the tiles onto the mortar, ensuring even spacing and alignment.
Common Mistakes to Avoid
Improper Installation
Avoid shortcuts and follow the recommended installation steps to prevent issues.
Neglecting Waterproofing
Failure to waterproof can lead to serious water damage over time.
Incorrect Spacing
Maintain proper spacing to prevent buckling or cracking.
Benefits of Hiring a Professional
Expertise and Experience
Professionals bring expertise and experience to ensure a flawless installation.
Time and Cost-Effectiveness
Save time and potential rework costs by entrusting the job to a professional.
Maintenance Tips
Cleaning and Inspections
Regularly clean the shower area and inspect for any signs of damage.
Addressing Issues Promptly
Address any issues promptly to prevent further damage.
Conclusion
In conclusion, installing Durock cement board in your shower is a practical and effective way to create a sturdy and long-lasting foundation for your tile work. By following the outlined steps and avoiding common mistakes, you can ensure a successful installation that stands up to the challenges of a wet environment.
FAQs
Is Durock cement board easy to cut?
- Yes, Durock is relatively easy to cut using a circular saw or utility knife.
Do I need to hire a professional for the installation?
- While DIY is possible, hiring a professional ensures a flawless and efficient installation.
How long does the installation process take?
- The time varies depending on the size of the project, but it typically takes a few days.
Can Durock be used in areas other than the shower?
- Yes, Durock is suitable for various wet and high-moisture areas, such as kitchens and bathrooms.
What maintenance is required after installation?
- Regular cleaning and inspections are essential, along with addressing any issues promptly.


Comments
Post a Comment