How to install air conditioner outdoor unit
How to Install an Air Conditioner Outdoor Unit
Air conditioners are essential for keeping your home cool and comfortable during the hot summer months. Installing an air conditioner outdoor unit can be a daunting task, but with the right tools and knowledge, it can be done easily and efficiently. In this article, we will guide you through the process of installing an air conditioner outdoor unit step by step.
Introduction
Before you begin, it is important to understand the components of an air conditioning system. An air conditioning system consists of two main components: the indoor unit and the outdoor unit. The indoor unit is responsible for cooling the air inside your home, while the outdoor unit is responsible for releasing the heat outside.
Choosing the Right Location
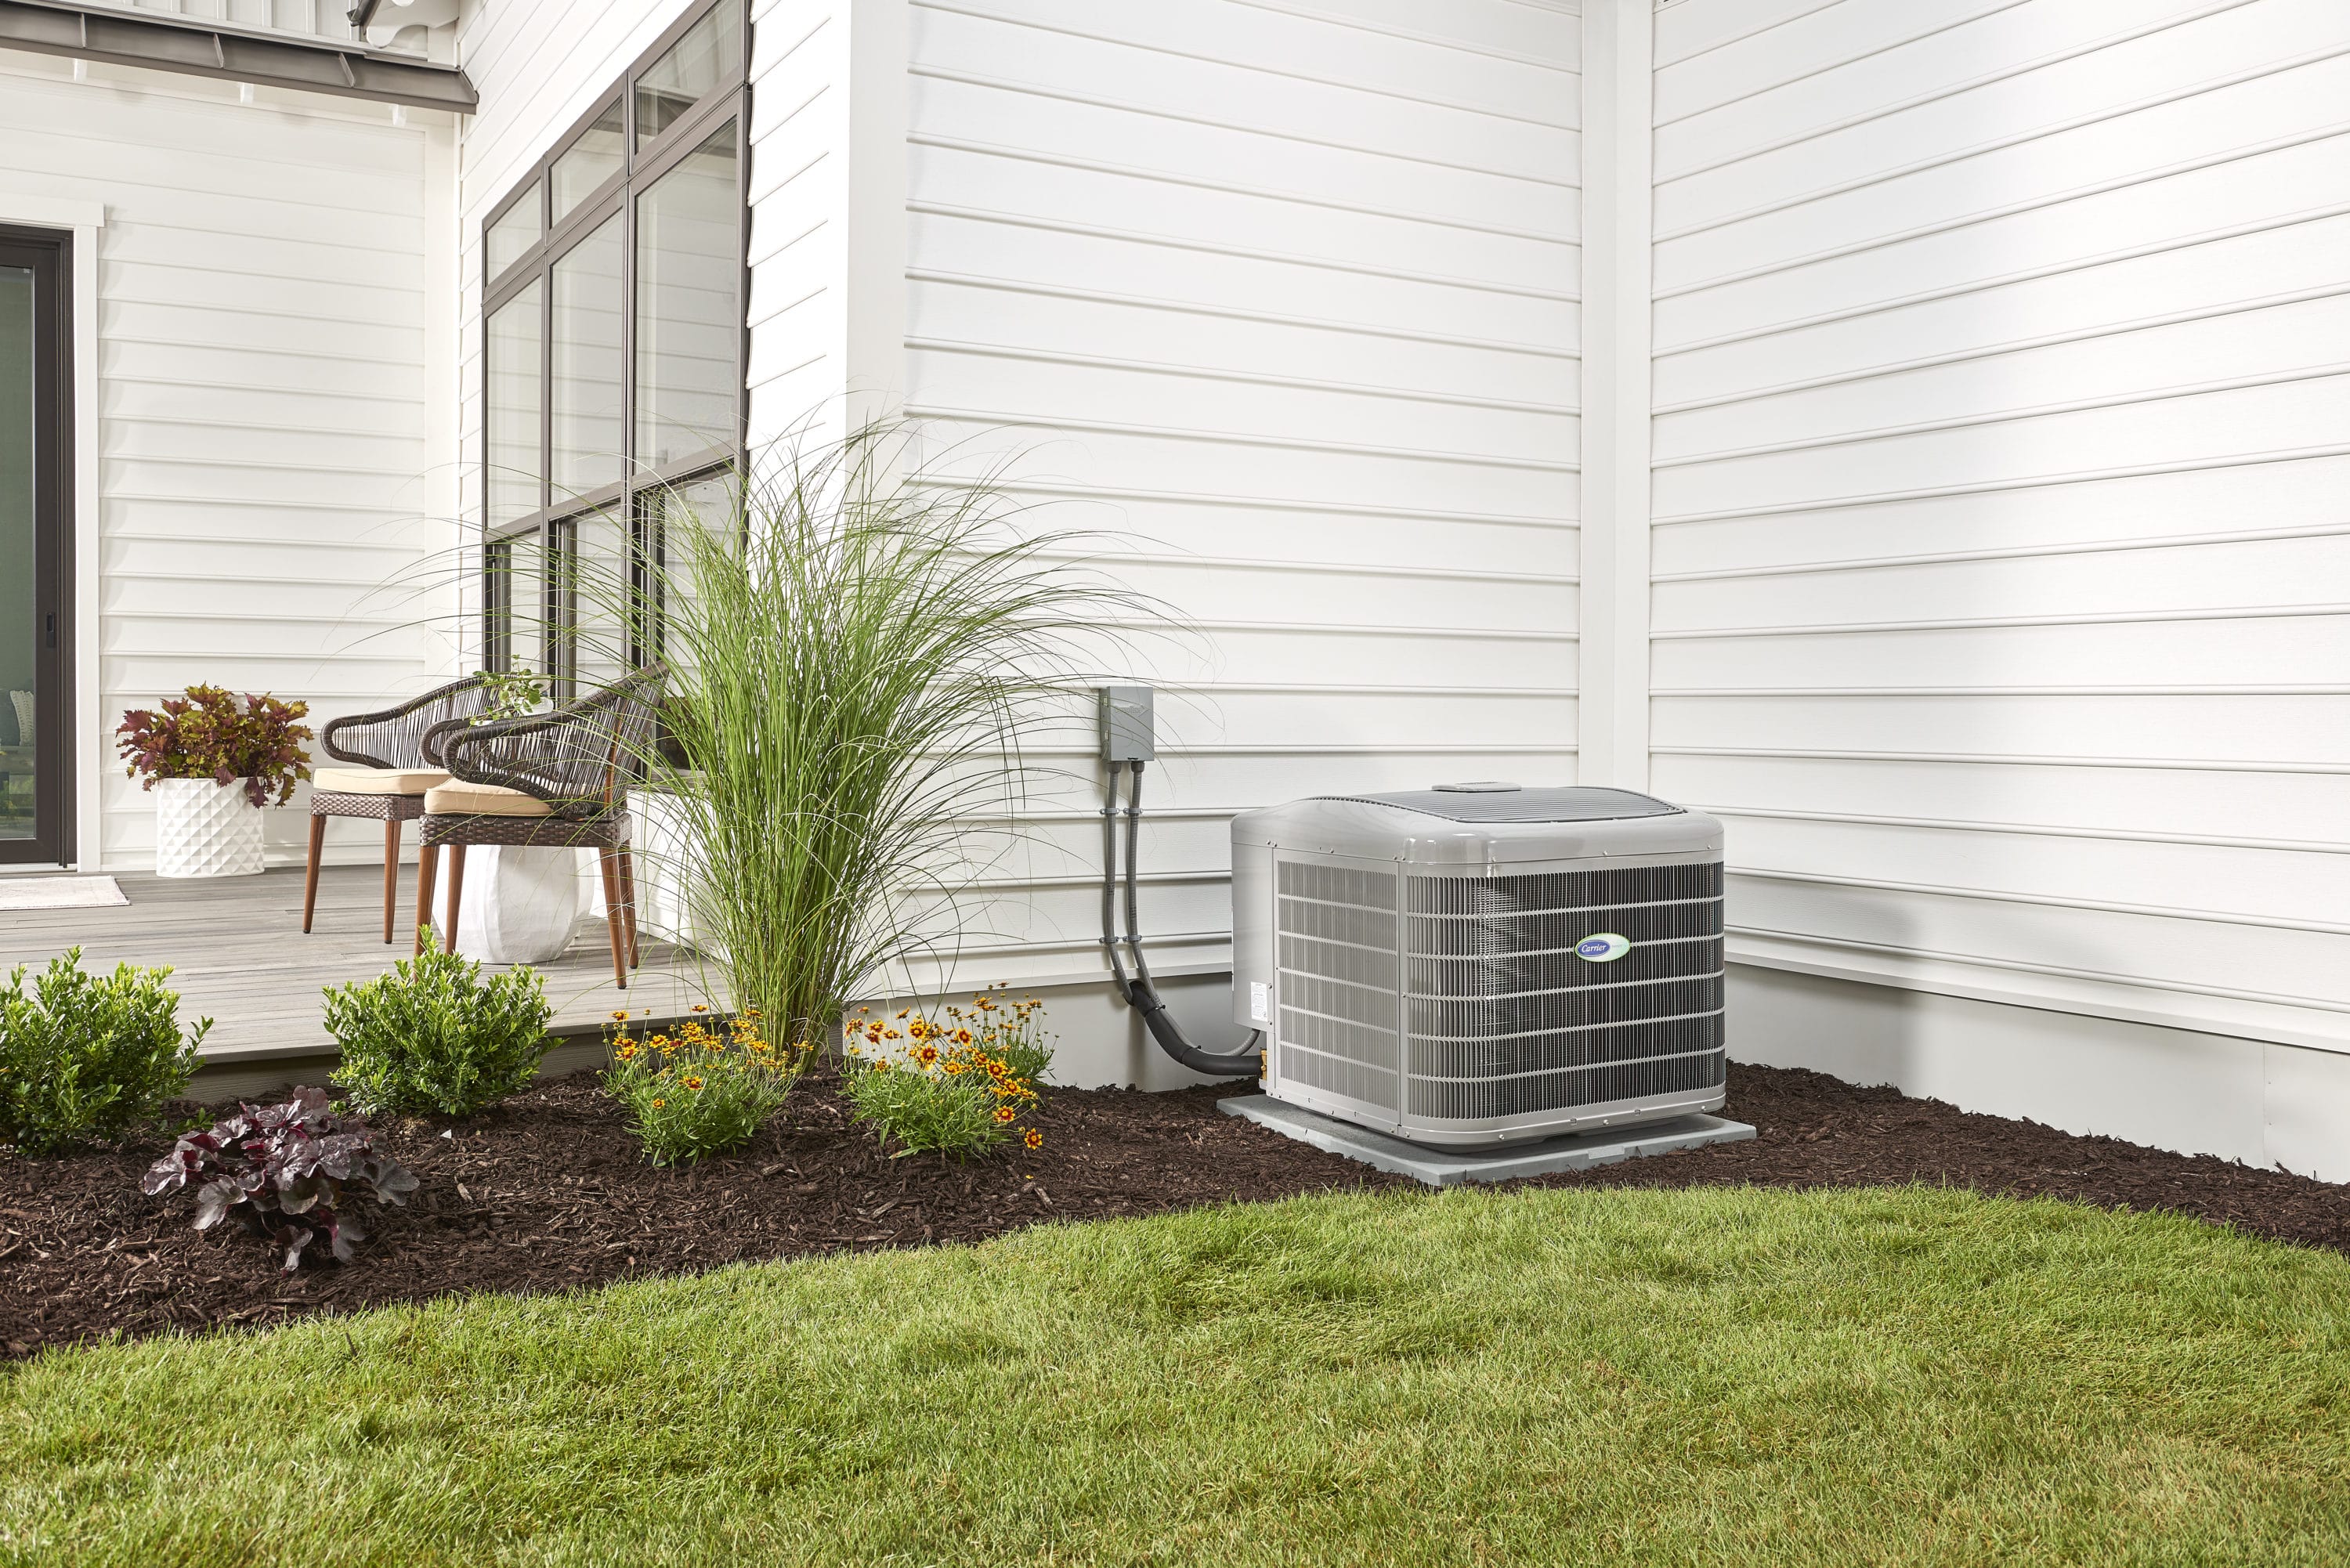
The first step in installing an air conditioner outdoor unit is choosing the right location. The outdoor unit should be placed in a location that is well-ventilated and free from obstructions. It should also be placed on a level surface to ensure proper drainage.
Preparing the Site
Once you have chosen the right location, you need to prepare the site. This involves clearing the area of any debris and leveling the ground. You should also install a concrete pad to provide a stable base for the outdoor unit.
Installing the Outdoor Unit
Now that you have prepared the site, you can begin installing the outdoor unit. Start by mounting the unit on the concrete pad. Then, connect the refrigerant lines and electrical wiring. Finally, test the unit to ensure that it is working properly.
Installing an air conditioner outdoor unit can be a challenging task, but with the right tools and knowledge, it can be done easily and efficiently. By following the steps outlined in this article, you can install your air conditioner outdoor unit with confidence.
Air conditioners have become indispensable in our homes, providing comfort during scorching summers. While many homeowners focus on the indoor unit, the outdoor unit's correct installation is equally crucial. This guide will take you through the process step by step, ensuring your outdoor unit functions efficiently.
Introduction
Installing an air conditioner's outdoor unit might seem daunting, but with the right information and approach, it becomes a manageable task. Whether you are a seasoned DIY enthusiast or attempting it for the first time, this guide will equip you with the knowledge needed for a successful installation.
Choosing the Right Location
The outdoor unit's location significantly impacts its performance. Consider factors such as adequate airflow, minimal direct sunlight, and a level surface. A well-thought-out location ensures optimal efficiency and longevity of your air conditioning system.
Necessary Tools and Materials
Before diving into the installation, gather the necessary tools and materials. This includes mounting brackets, screws, a level, refrigerant, and electrical wiring components. Having everything on hand will streamline the process.
Safety Precautions
Safety should always be a priority. Ensure the power is off, use proper personal protective equipment, and follow safety guidelines outlined in the manual. Taking precautions can prevent accidents during installation.
Reading the Manual
Manufacturers provide detailed manuals for a reason. Take the time to read and understand the manual thoroughly. It contains specific instructions and guidelines tailored to your unit.
Preparing the Installation Site
Prepare the installation site by clearing any debris or obstacles. Ensure the ground is level to prevent future issues. A well-prepared site sets the foundation for a smooth installation process.
Mounting the Outdoor Unit
Follow the manufacturer's guidelines for mounting the outdoor unit. Use the provided brackets and ensure a secure fit. A properly mounted unit enhances stability and reduces vibrations.
Electrical Connections
Making electrical connections can be tricky. Carefully follow the wiring diagram in the manual, double-checking each connection. If uncertain, seek professional assistance to avoid electrical mishaps.
Refrigerant Charging
Correct refrigerant charging is crucial for optimal performance. Follow the guidelines in the manual and use the recommended refrigerant type and quantity. Proper charging ensures efficient cooling.
Testing the Unit
After installation, test the unit to confirm everything is functioning correctly. Check for any unusual sounds or vibrations. Address any issues promptly to avoid further complications.
Troubleshooting Tips
Despite a careful installation, issues may arise. This section provides common troubleshooting tips, empowering you to address minor problems without professional assistance.
Regular Maintenance
Regular maintenance is key to extending the life of your air conditioning system. Clean or replace filters regularly, inspect for any wear and tear, and schedule professional maintenance when needed.
Energy Efficiency Tips
Enhance the energy efficiency of your air conditioning system by investing in a programmable thermostat, sealing ducts, and ensuring proper insulation. These steps not only save energy but also reduce utility costs.
Weatherproofing the Unit
Protect your outdoor unit from the elements by installing a weatherproof cover. This simple step prevents damage from rain, snow, and extreme temperatures, preserving the unit's functionality.
Conclusion
Properly installing your air conditioner's outdoor unit is a rewarding endeavor. It ensures optimal performance, energy efficiency, and a longer lifespan for your cooling system. By following this guide and considering the outlined factors, you can confidently tackle the installation process.
Frequently Asked Questions
- Q: Can I install the outdoor unit myself, or should I hire a professional?
- A: While DIY installation is possible, hiring a professional ensures precision and adherence to safety standards.
- Q: How often should I perform maintenance on the outdoor unit?
- A: Regular maintenance, including filter cleaning or replacement, should be done every 3-6 months.
- Q: Is it necessary to cover the outdoor unit during winter?
- A: Yes, using a weatherproof cover during winter protects the unit from harsh weather conditions.
- Q: What should I do if the unit is making unusual noises after installation?
- A: Check for loose components, and if the issue persists, consult the manufacturer or a professional technician.
- Q: Can I relocate the outdoor unit after installation?
- A: It's not recommended; however, if necessary, consult the manufacturer's guidelines or seek professional assistance.


Comments
Post a Comment